An image object will be created when you import a bitmap (PNG/JPG/BMP) image into the Beam Studio.
Gradient
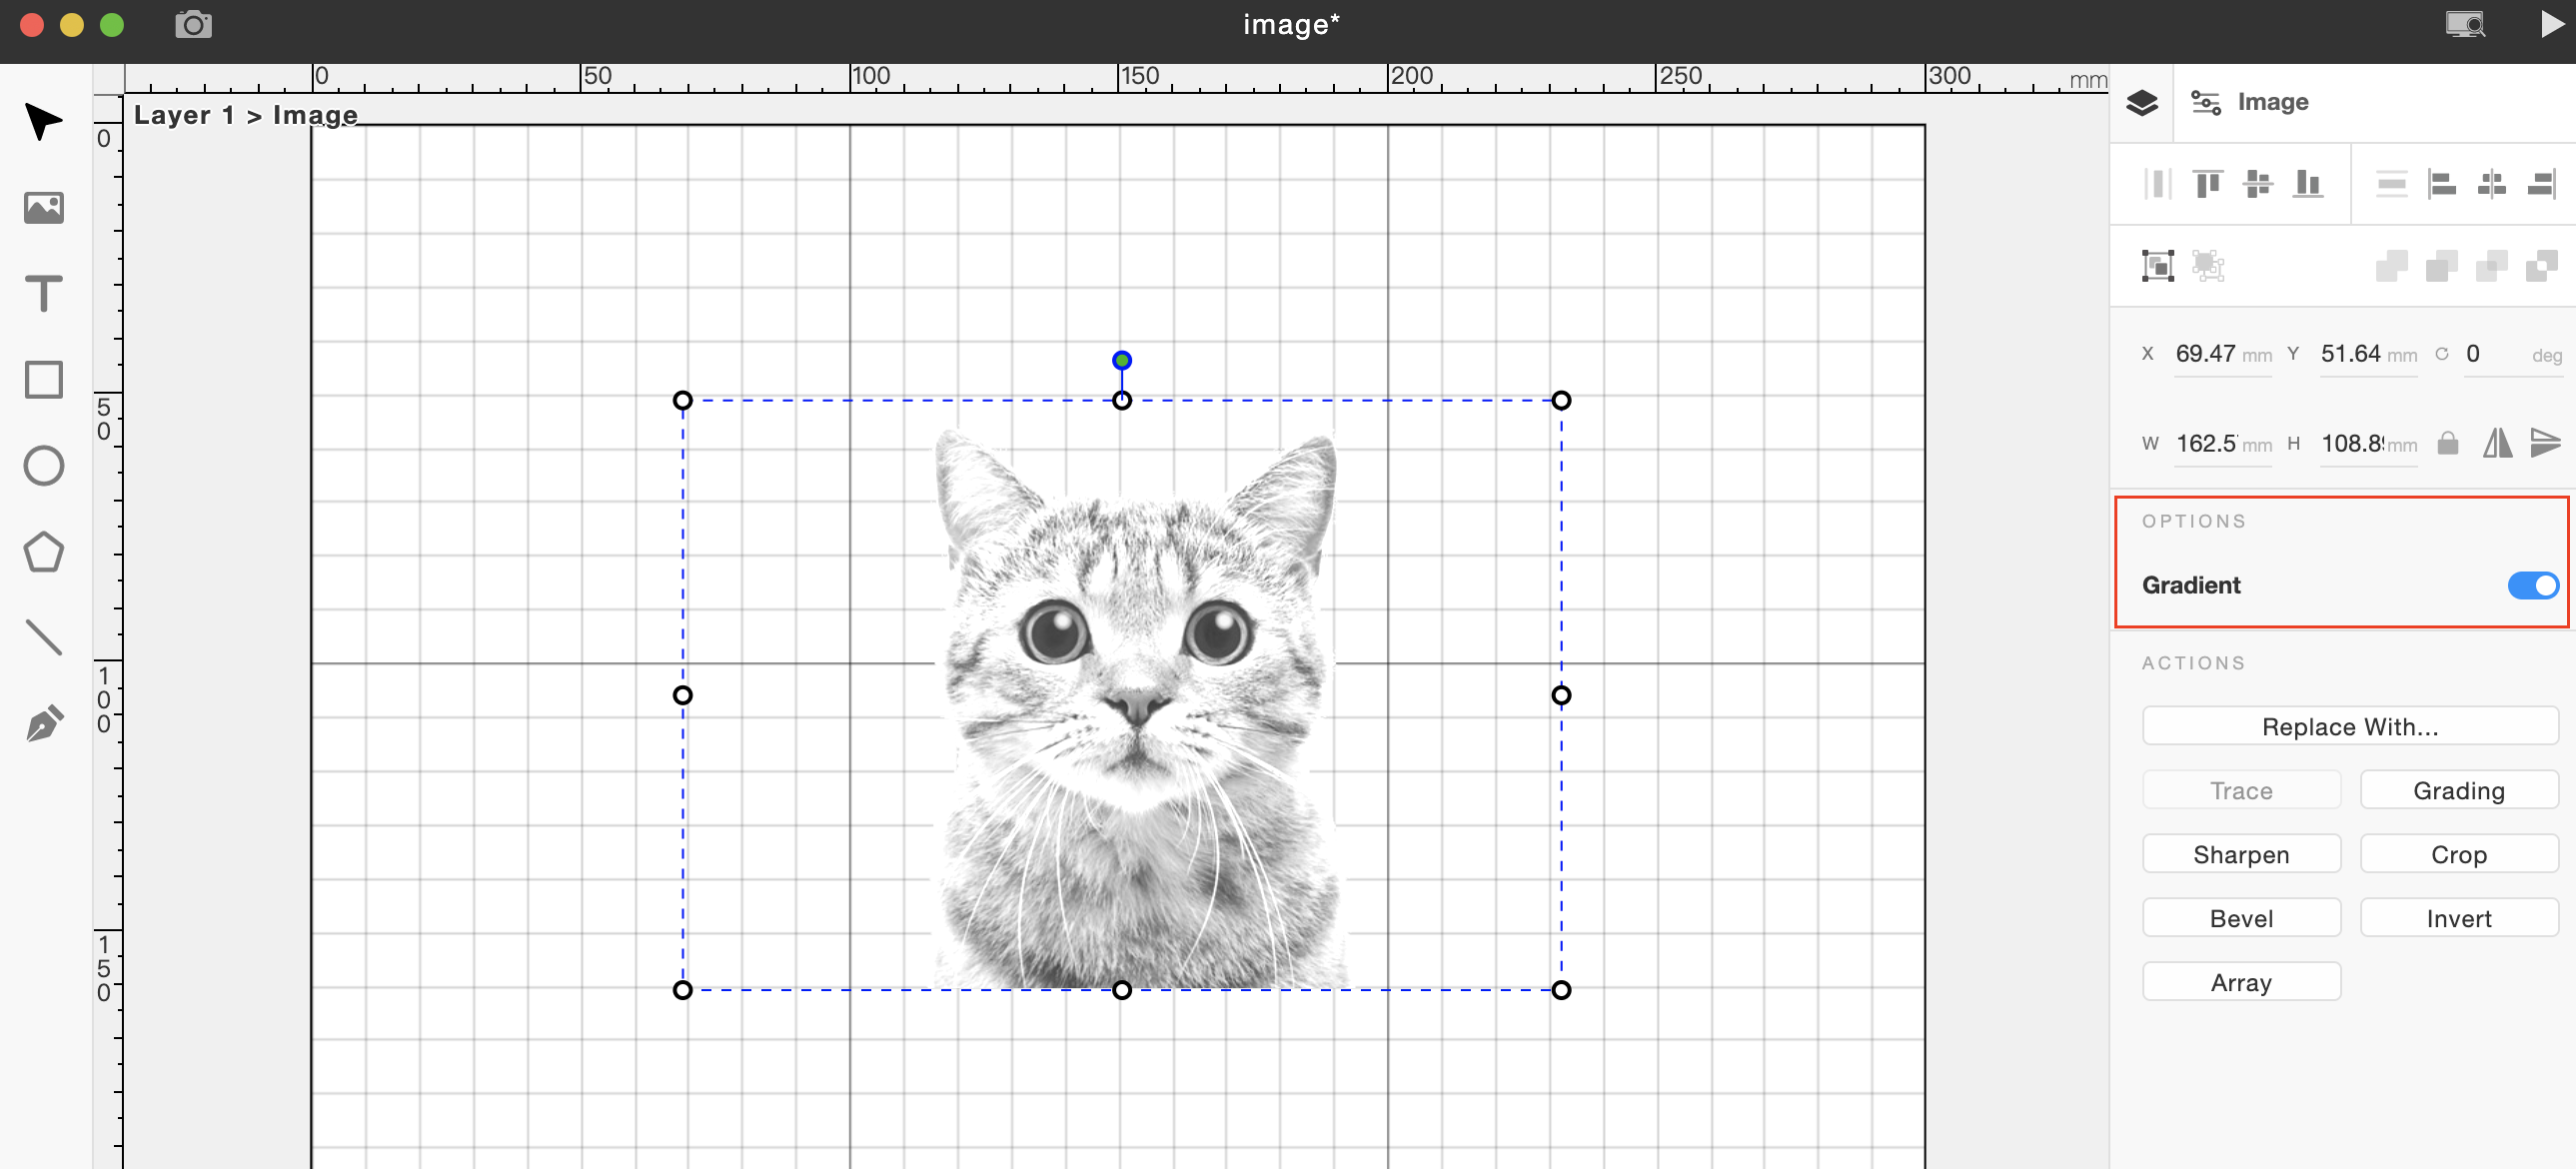
In the previous chapter, we introduce the concept of gradient.
Enabling "Gradient" (Smooth shadings)
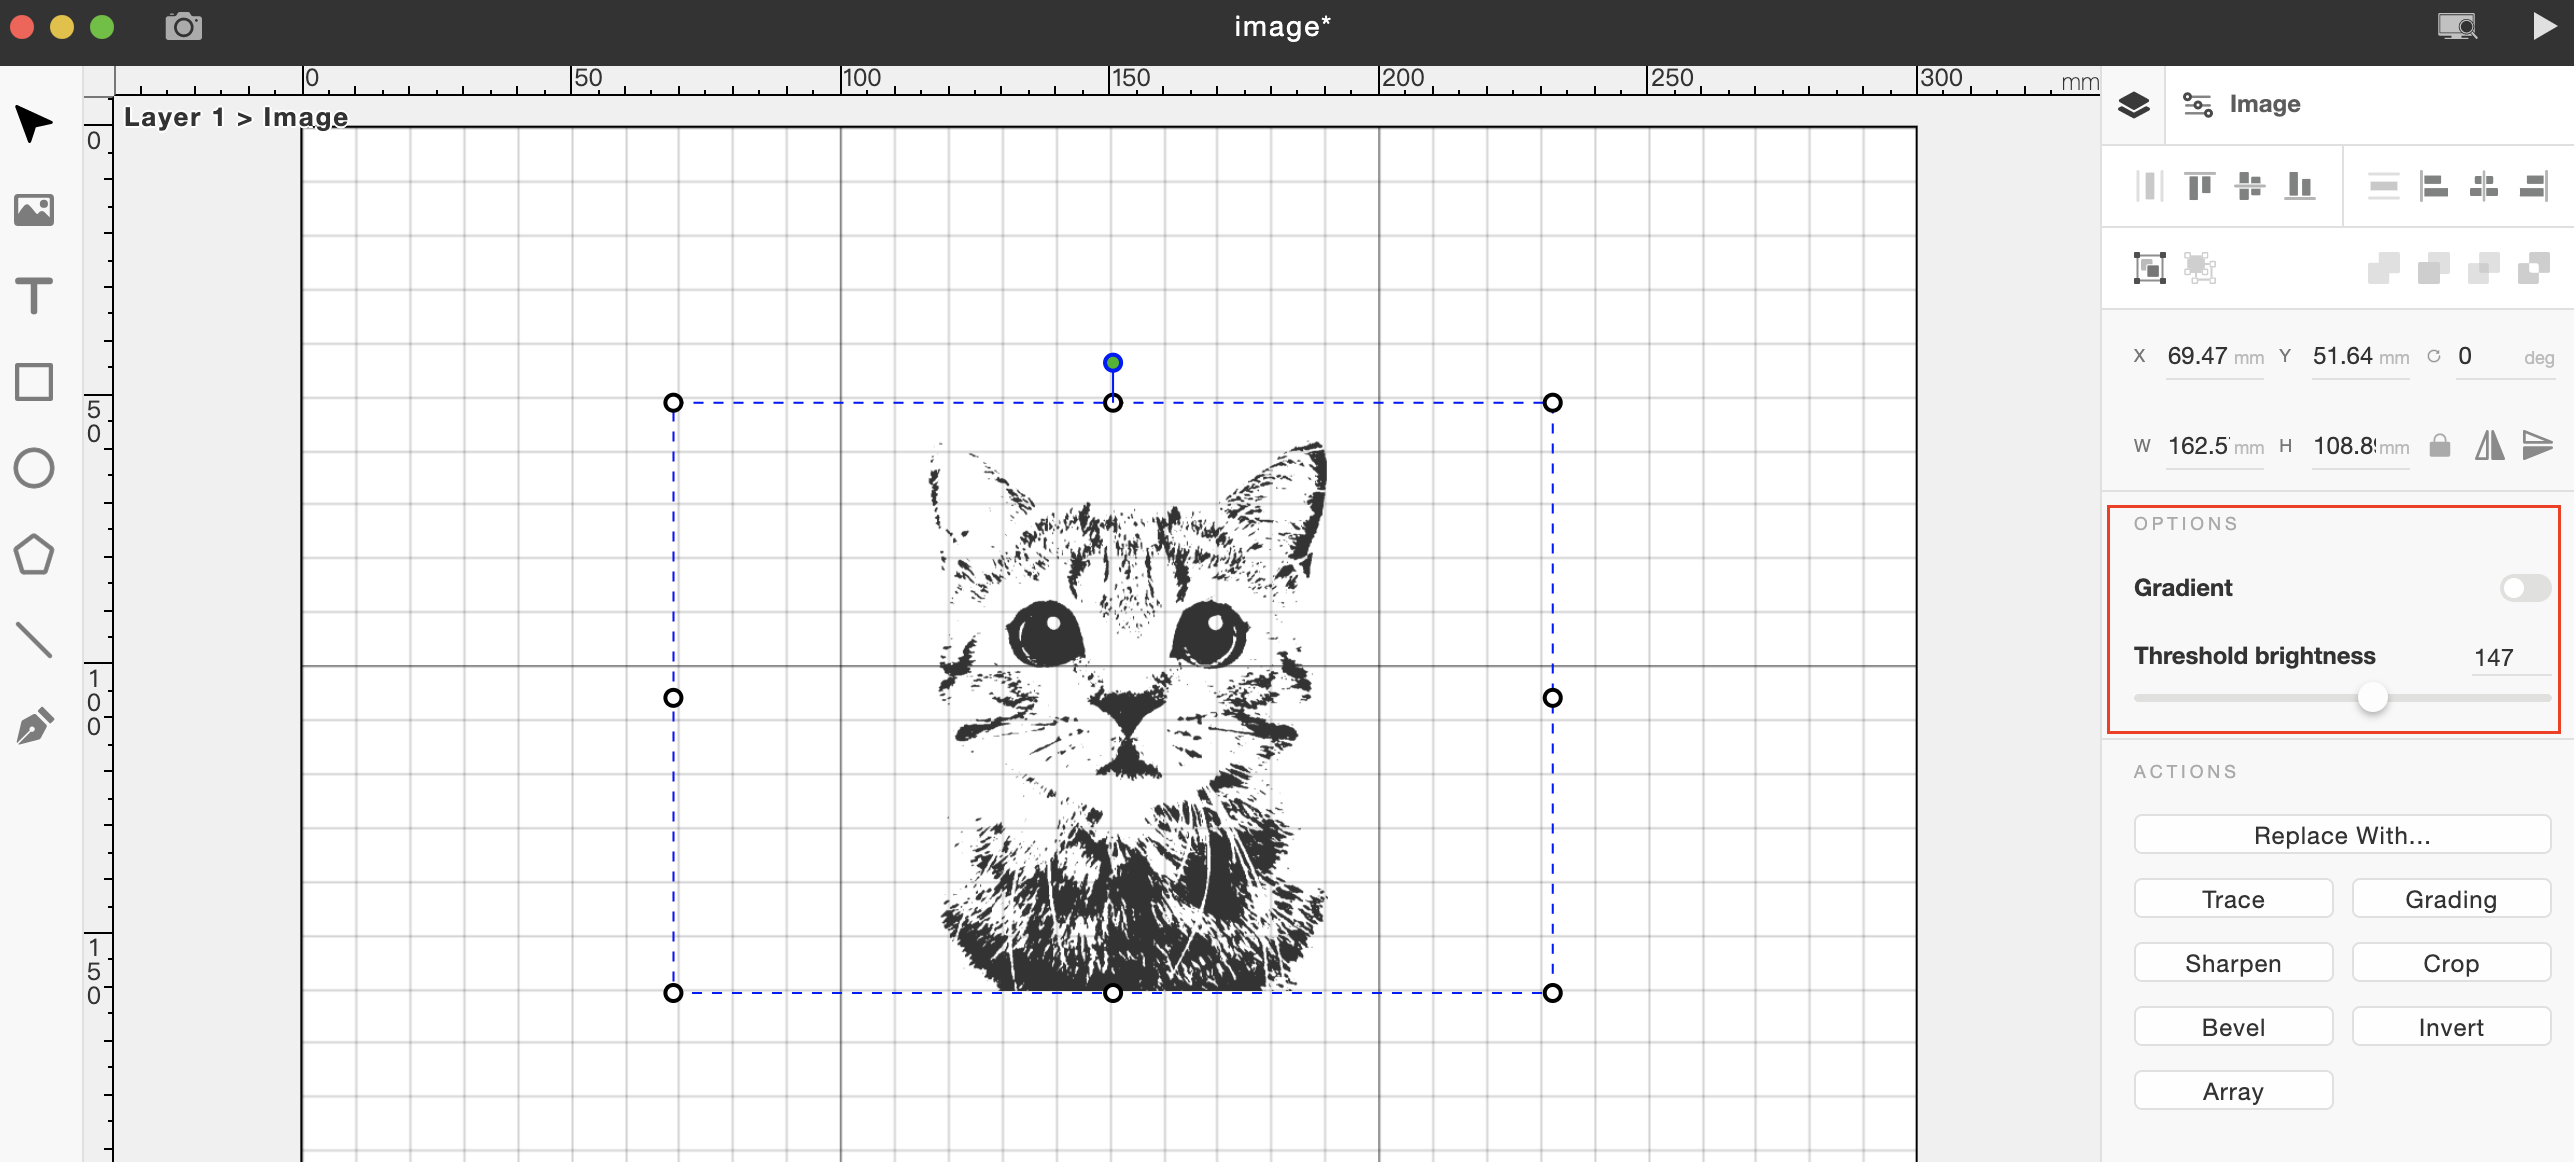
Disabling "Gradient" (Only black and white)
Actions
Replace With: Change an image by selecting a new one from your computer.
Background Removal: Replace the current image by selecting a new one from your computer.
Trace: Convert a binary image into a vector path. Note that more complex patterns will require longer conversion times. Only binary images can be converted to vector paths.
Grading: Adjust the brightness and contrast of an image. Tap the middle of a line segment to create an adjustment point. (Curve graph illustration)
Crop: Remove unwanted content from an image. Drag any edge of the crop box to adjust its size.
Sharpen: Enhance the edge contrast of an image to improve its clarity.
-
Radius: If Sharpness has a value, you can move the slider to reduce noise. (Sharpness and Radius sliders illustration)
Bevel: Create a blurred grayscale gradient on the edges of bitmap graphics. This is often used to smooth engraving depth gaps, particularly for detailed rubber stamps.
Invert: Reverse the colors of an image, similar to a negative effect. This action is usually needed when engraving transparent materials like acrylic.
Comments
0 comments
Please sign in to leave a comment.