
⚠︎ Before starting the engraving process, ensure that the camera calibration has been completed.
Step 1 - Focus.
Place the material in the upper-left corner of the machine. Move the laser head above the material, then press and hold the focus button "AF" on the machine panel until the focus prompt appears. Drop the probe, press the focus button, and wait for the laser head to touch the material. Then, lift it back up, completing the focus adjustment. Close the door, and ensure the focus is correct before every engraving session.
Step 2 - Import the engraving test file.
Click on "Menu"> "File"> "Examples"> "Example of Beambox II."
Step 3 - Preview the engraving position.
The machine provides two ways to preview the engraving position:
3-1 Click the "Camera" icon in the top left to preview. Select the entire file and drag it to the desired position
3-2 Move the laser head above the material and click the "Frame Preview" icon in the top right to preview the working area using the laser head's red light.
Step 4 - Send the job.
Exit the camera preview mode, drag and drop the image to the desired engraving location, and press the arrow button to send the file.
Step 5 - Engraving result.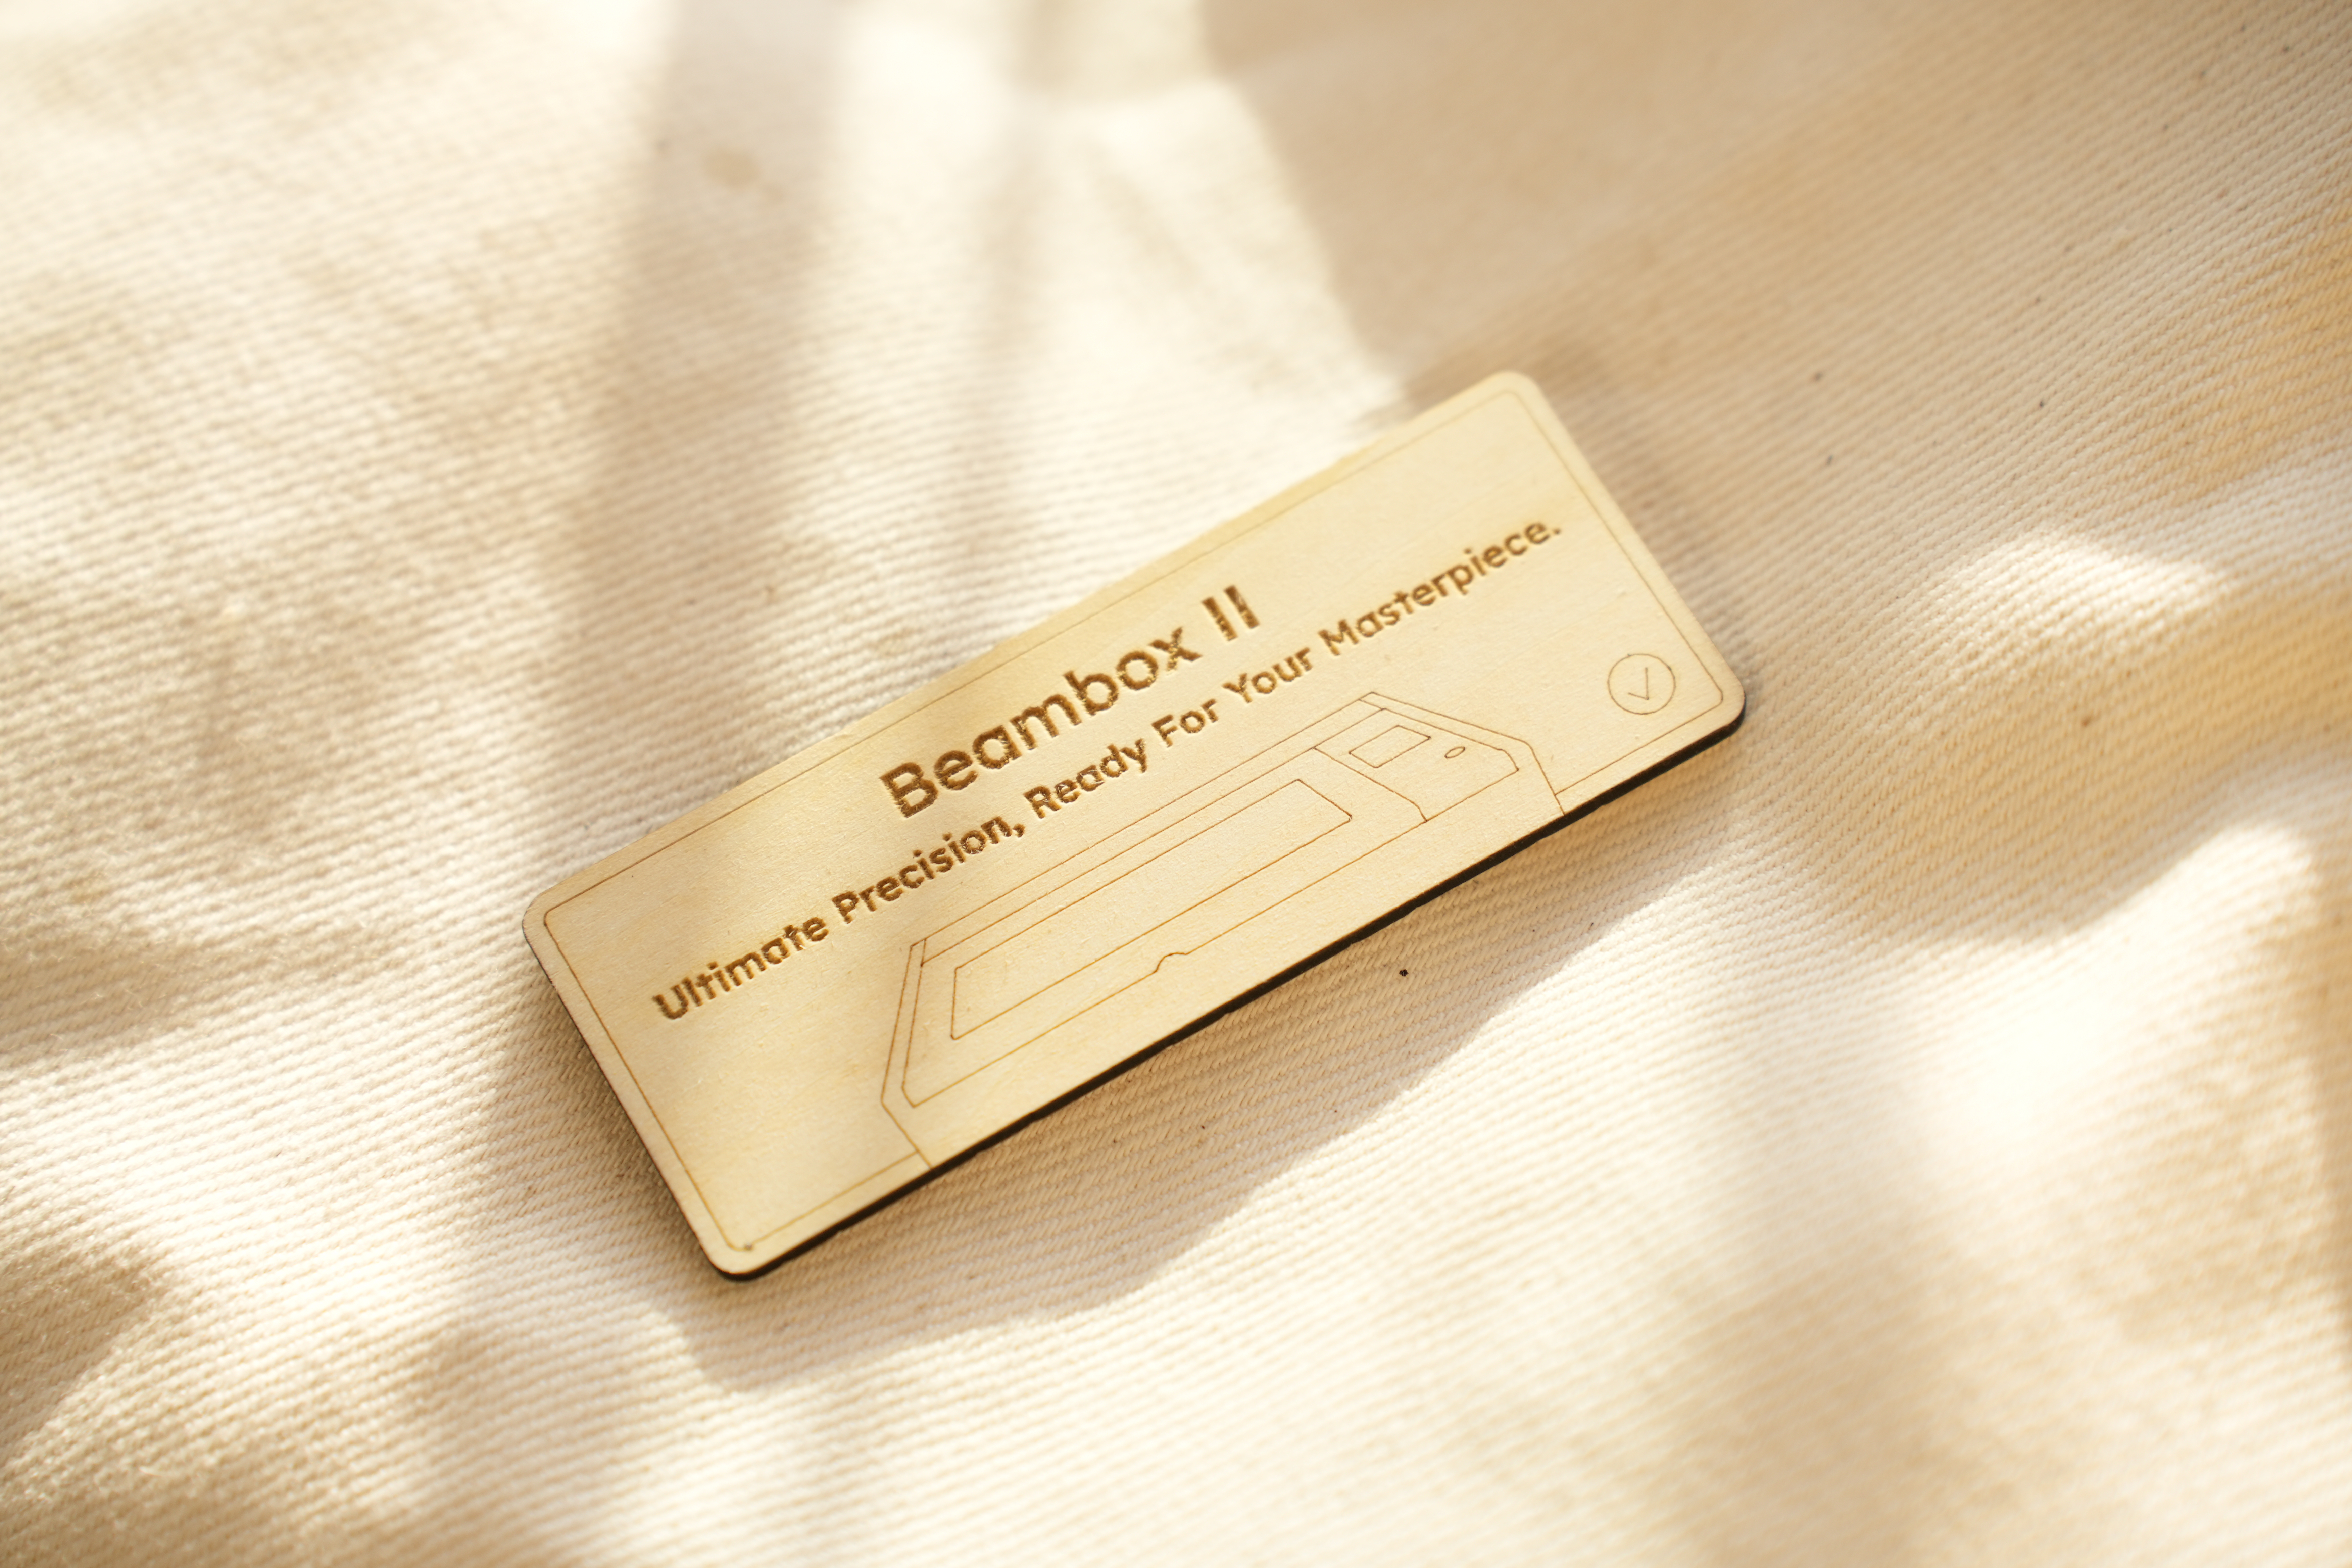
⚠︎ If the engraving result is blurry, unclear, or light in color, please check if the laser head is focused accurately, check the material suitability/parameters, and find the troubleshooting here- Material cannot be cut through.
#END
Comments
0 comments
Please sign in to leave a comment.