
Thank you for choosing FLUX. Before getting started, please ensure you have read the Safety Precautions. The following sections, 2-1 to 2-6, will guide you through assembling and using your machine.
Full Unboxing Video:
This video is a complete unboxing video. The following text contains the steps shown in the disassembly video, and you may refer to either one as needed.
(Please turn on YouTube subtitles.)
⚠︎ After unboxing the machine, please remove the following securing parts shown in the image below before starting use.
| Print bed carriage securing straps |
| X-axis rail locking screws and anti-slip blocks |
| Honeycomb bed fixing cardboard |
|
Remove the yellow dust-proof sticker |
Step 1 - Unseal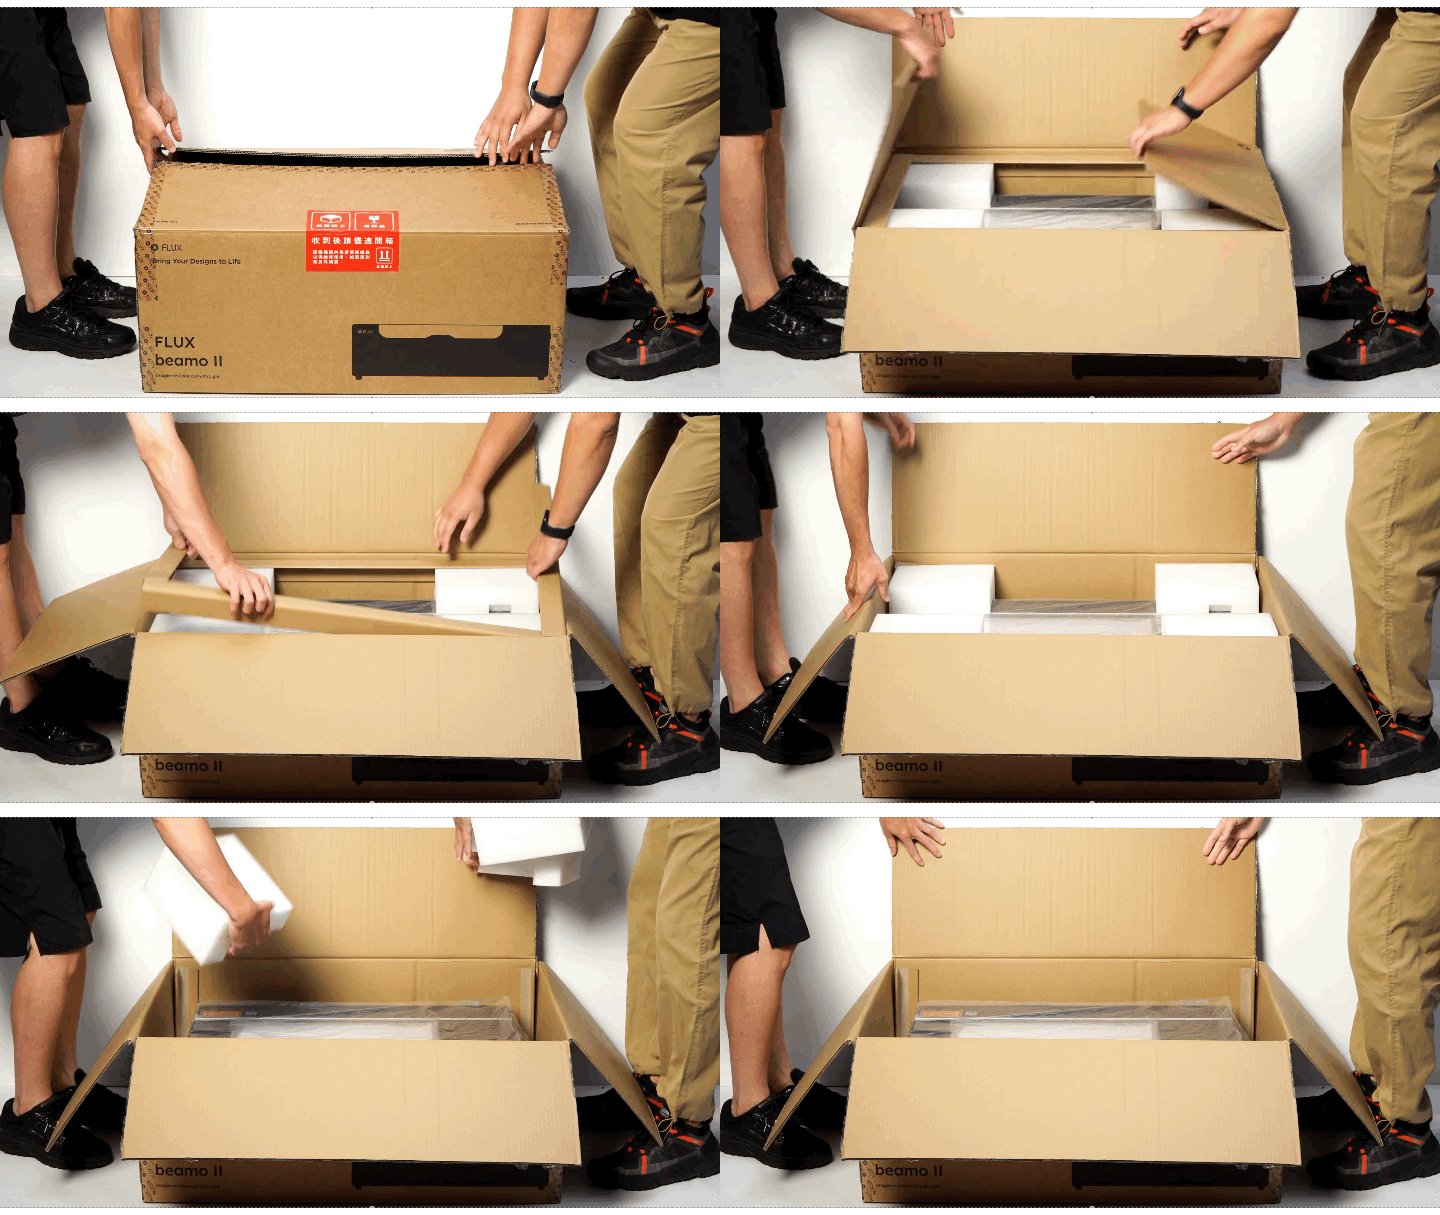
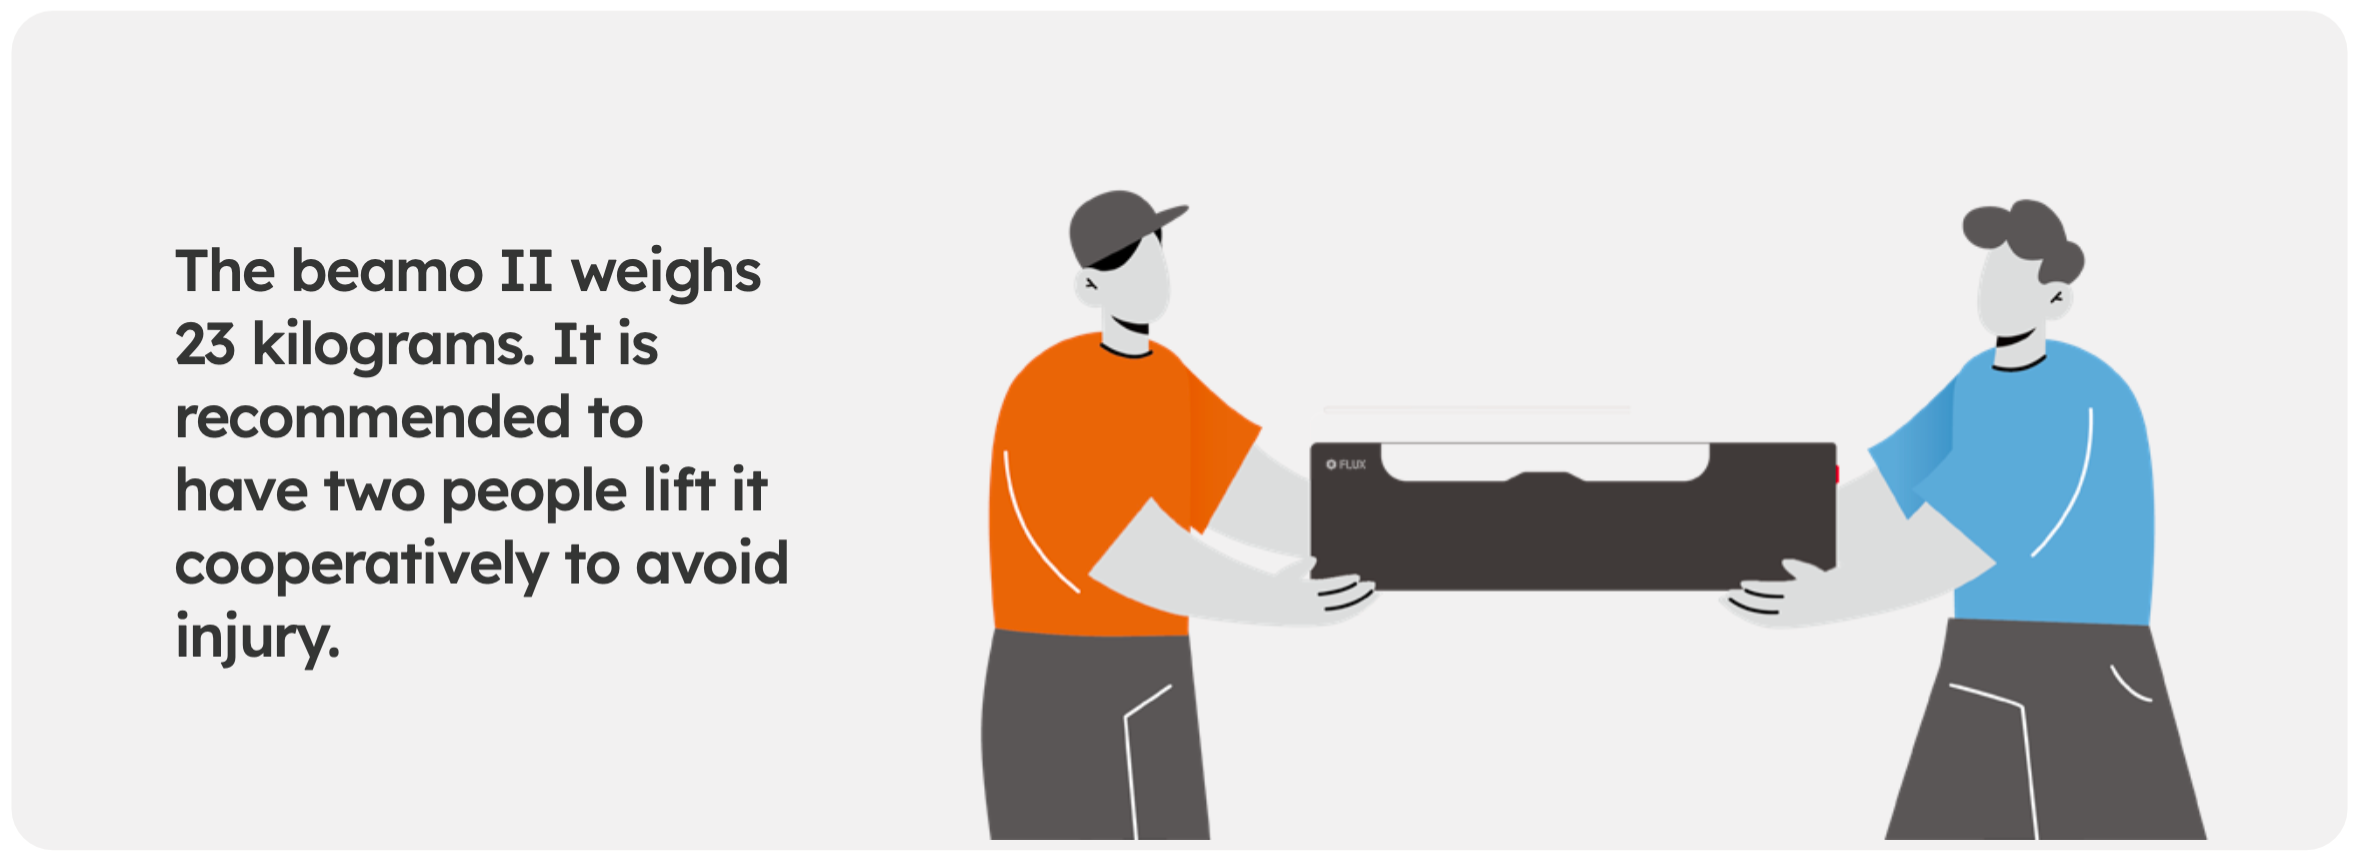
Step 2 - Machine Handling
Step 3 - Accessories & Components
- Product Test Report
- Thank You Card
- Gift Card
- Camera Calibration Paper
- Quick Start Guide
- Double-sided Tape
- Lubricating Oil
- 2.5mm Hex Key Wrench
- Torx Screwdriver
- Double Head Wrench
- Funnel
- Laser Safety Key
- USB Cable
- Wi-Fi Dongle & 90-degree USB Adapter
- Air Pump Filter
- Power Cord
- Vent Hose
- Wood Piece
- Door Cover
- Back Cover
- Touch Panel
- Power Button
- Emergency Stop Switch
- USB-A Port
- USB-B Port
Machine Rear:
- Power Socket
External Air Intake
Step 4 - Remove the securing screws
Step 5 - Remove the vent hose cover and clamp
Step 6 - Install the vent hose
Insert the clamp onto the large end of the vent hose hole and attach it to the exhaust fan outlet at the rear of the machine. Adjust the clamp tightness and fasten it onto the exhaust fan outlet.
Position the open end of the vent hose outside a window or attach it to an air purifier.
Step 7 - Connect the Wi-Fi dongle
Step 8 - Power On
Ensure both ends of the power cable are securely connected to the back of the machine and the power outlet, then press the power button to turn on the machine. The first startup may take approximately 2 to 5 minutes.
⚠︎ If the power button does not respond when turned on, please check if the emergency stop switch on the right side of the machine is activated.
Suppose the emergency stop switch is activated. Rotate it clockwise toward the white arrow to release it.
Step 9 - Setup for the First Use
1. Follow the instructions on the machine display to select your language.
2. Read the Safety Precautions carefully.
3. Follow the instructions and run the Start-up Test.
⚠︎ Do not skip the Start-up Test if this is the first time using the machine.
Next Step:2-2 Software Installation and Activation
Comments
0 comments
Please sign in to leave a comment.