Note
This article is NOT applicable to the US region as the camera design is different from other regions.
If your Ador is the US version, please refer to this article: Ador US - Camera Module Replacement
Tools
- Torx T8 driver
- Phillips screwdriver (small)
- Scraper or flat-head screwdriver
Step 1 - Turn off the machine and remove the power cord 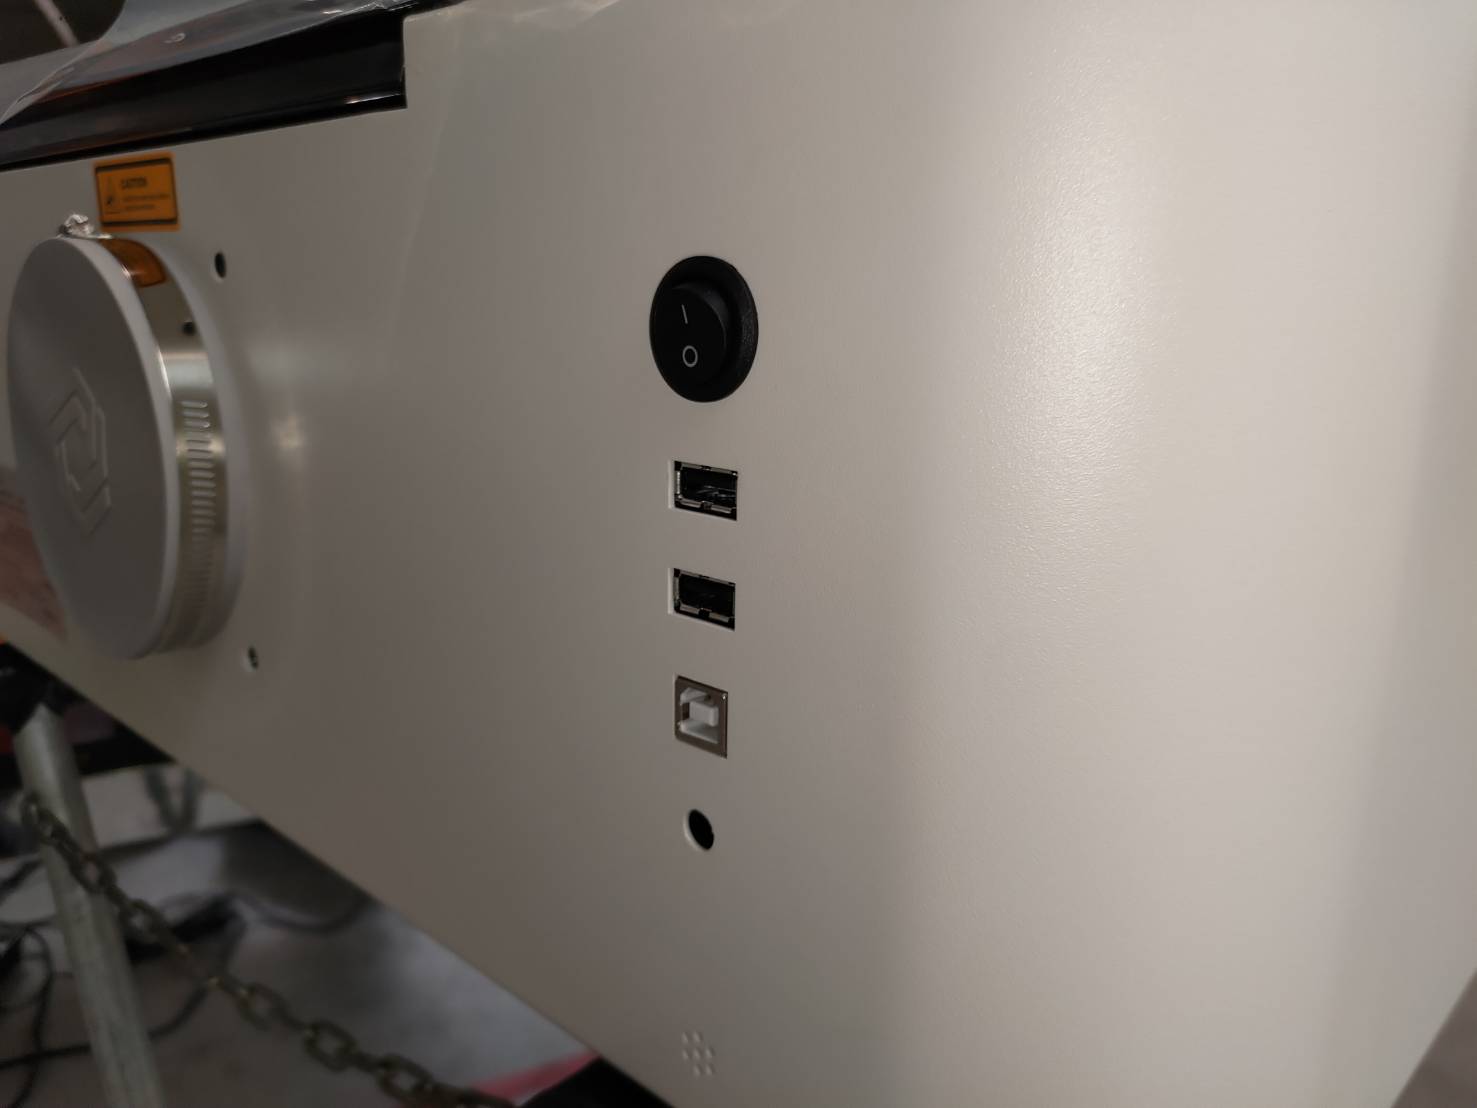
Step 2 - Unscrew these screws on the plate
T8 screw x 8pcs (The plate and door cover are connected.)
Step 3 - Move the plate and door cover forward a bit
Step 4 - Remove the motor cable
After removing this cable, it is easier to remove the camera cable.
Step 5 - Remove the camera cable
Please note that there is a clip locking the cable. Open the clip to remove the camera cable.
Clip Locking:
Clip Locking Opened:
Pull out the cable:
Step 6 - Remove the plate and door cover
Step 7 - Remove the camera cable on the lid
You may skip this step if the cable is not being changed.
Step 8 - Remove the camera module board
Applying direct force to lift the camera module board (which is adhered to the camera) might cause the camera cable to disconnect.
Step 9 - Remove the camera module from the board
Detach the light conduct board on the top of the camera module first. Remove these three screws.
Step 10 - Remove the camera cable.
Open the clip locking to remove the cable.
Step 11 - Pass through the new camera cable from the plate and lid
You may skip this step if the cable is not being changed.
Step 12 - Insert the camera cable into the camera module
Install the camera cable on the module with the metal surface facing downwards. Lock the clip to secure it, and gently pull it to ensure it's properly locked.
Please make sure the camera cable is correctly installed in the connector.
Step 13 - Fix the camera module on the camera module board
Screw the three screws.
Stick the new light conduct board on the camera module.
Use the tape to fix the camera module board on the lid.
Step 14 - Stick the camera cable
You may skip this step if the cable is not being changed.
The two white lines indicate the curve position.
Step 15 - Put the plate and door cover on the top
Leave a space to allow your hands to reach.
Step 16 - Insert the camera cable into the mainboard
Please note that the metal surface of the camera cable must face the mainboard.
The metal surface of the camera cable:
The metal surface must face the mainboard.:
Insert the cable:
Lock the clip:
Step 17 - Insert the motor cable
Step 18 - Push back the plate and screw the screws
T8 screw x 8pcs
Step 19
Once you've completed the above steps, the camera cable has been successfully replaced. However, since the steps involved moving the door cover and camera, please perform the camera calibration as the final step before resuming the use of the machine.
You can refer to this page: Camera Calibration.
#END
Comments
0 comments
Please sign in to leave a comment.