Tools
- Torx T8 driver
- 2.5mm Allen key
- Marker pen or Colored Tape
Step 1 - Turn off the machine and remove the power cord 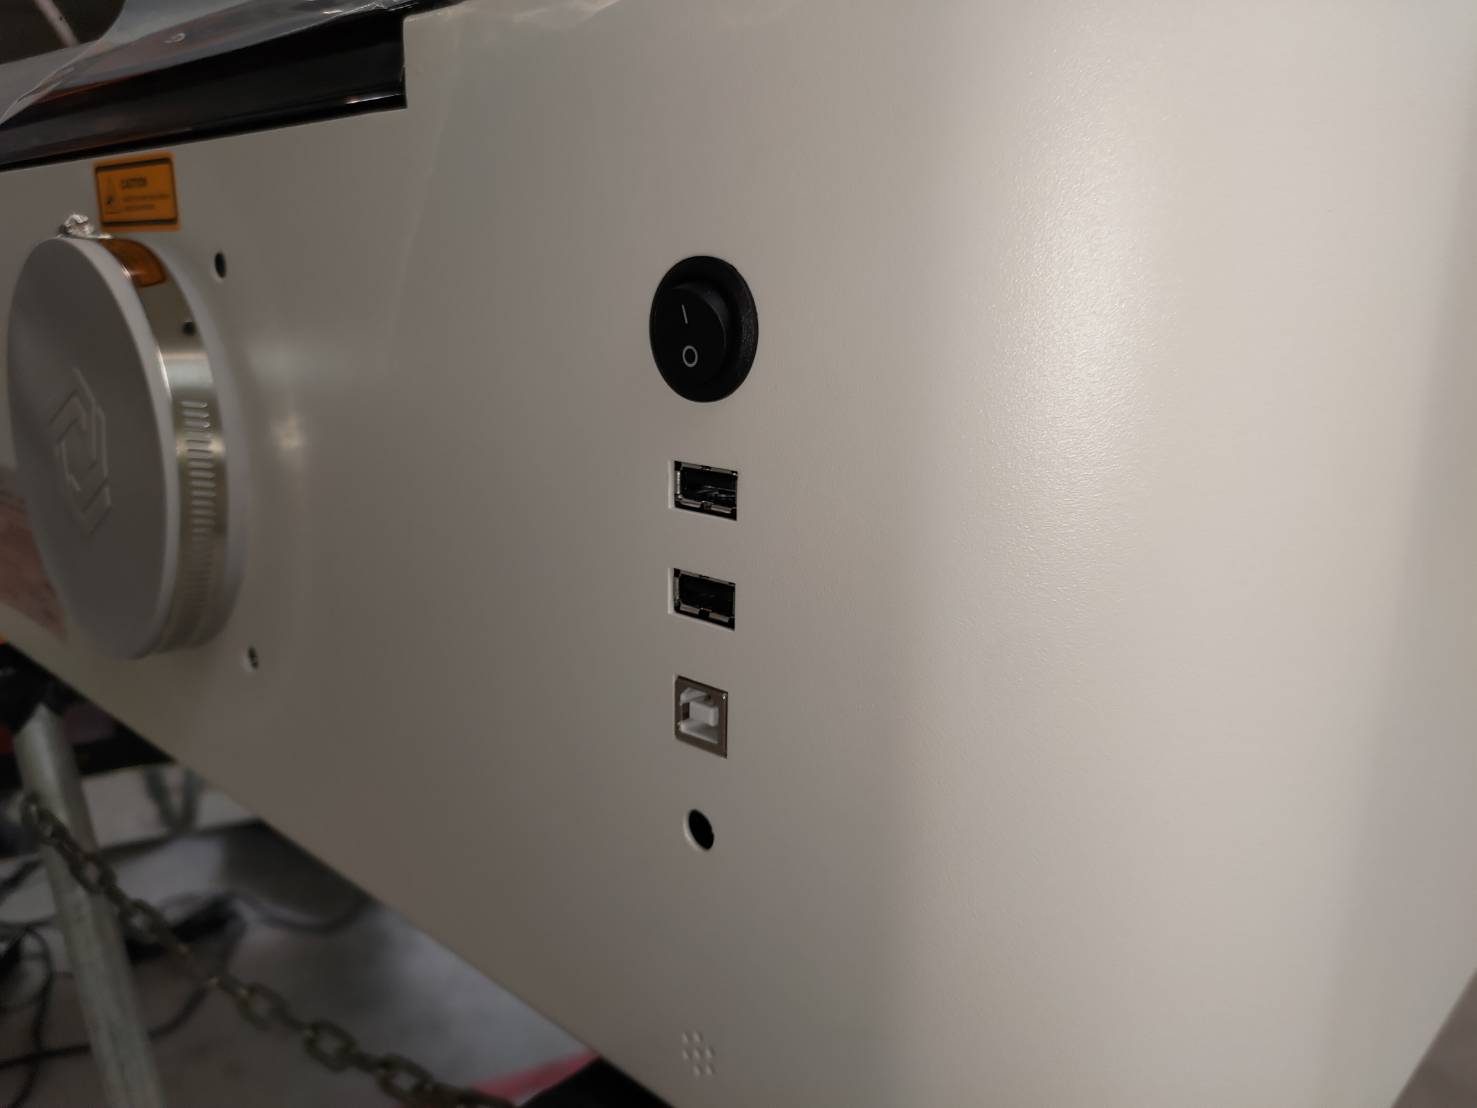
Step 2 - Unscrew these screws on the plate
T8 screw x 8pcs (The plate and door cover are connected.)
Step 3 - Move the plate and door cover forward a bit
Step 4 - Remove the motor cable
After removing this cable, it is easier to remove the camera cable.
Step 5 - Remove the camera cable
Please note that there is a clip locking the cable. Open the clip to remove the camera cable.
Clip Locking:
Clip Locking Opened:
Pull out the cable:
Step 6 - Remove the plate and door cover
Step 7 - Mark the location of 38pin flat cable with pen or tape
Step 8 - Remove the cables on the right of the mainboard
You may take a photo, in case you forgot the position of the cables.
Step 9 - Remove the screws on the mainboard
3mm HEX screw x 4pcs
Step 10 - Remove the 38pin flat cable from the plate
Please note that there is a tape on the back of the cable.
Pull out the mainboard by 45 degrees.
This cable has to press the lock to be removed.
Remove all the cables.
Step 11 - Insert the 38pin flat cable into the new mainboard
Please note that the connection pins need to be face up.
Step 12 - Insert the cables and put the mainboard back
Please note that do not fold any cables.
Step 13 - Scres the screws on the mainboard
Step 14 - Insert the cables except the camera cable and motor cable
Step 15 - Stick the 38pin flat cable
Align the top of the flat cable with the lower edge of the mark and stick it to the left side of the plate along the upper left corner.
Step 16 - Put the plate and door cover on the top
Leave a space to allow your hands to reach.
Step 17 - Insert the camera cable into the mainboard
Please note that the metal surface of the camera cable must face the mainboard.
The metal surface of the camera cable:
The metal surface must face the mainboard.:
Insert the cable:
Lock the clip:
Step 18 - Insert the motor cable
Step 19 - Push back the plate and screw the screws
T8 screw x 8pcs
Step 20
Once you've completed the above steps, the door cover has been successfully replaced. However, since the steps involved moving the door cover and camera, please perform the camera calibration as the final step before resuming the use of the machine.
You can refer to this page: Camera Calibration
#END
Comments
0 comments
Please sign in to leave a comment.